Send Mrs. Alseri pics of your work at:
[email protected]
Check back weekly for more projects and videos. Fresh lessons will be posted at the top.
*Looking for more? Visit the specials activity slide posted on your classroom teacher’s page. New lesson links are updated on Mondays.
Week of June 1st
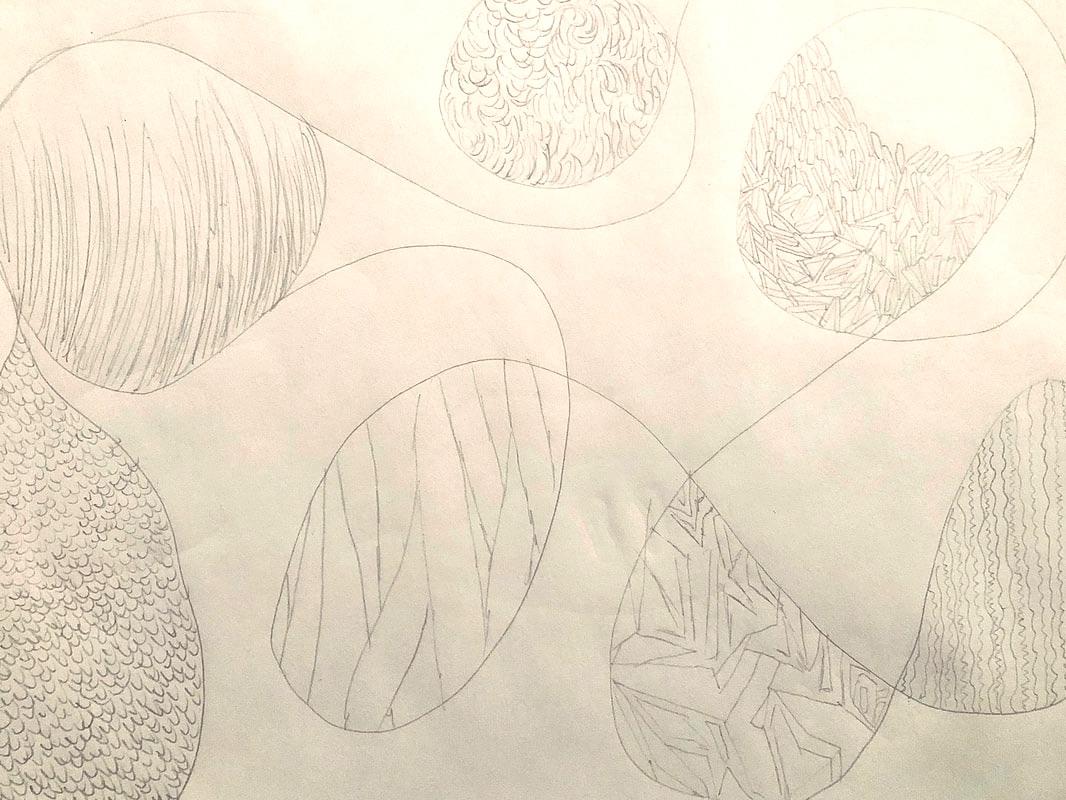
Make a drawing representing different kinds of texture.
TEXTURE is how a surface looks or feels. For this project, you will be invited to look more carefully at things around you and notice how texture creates a richer, more vidid world that is experienced through multiple senses.
Imagine petting a really soft cat, gripping a tennis ball, wrapping yourself in a fuzzy blanket (it’s the BEST!), or running your hand across the side of a brick house. You use your sense of touch when experiencing texture. You also use your eyes to see visual texture in the world and in art. When I started to look at everything around me with a critical eye, I couldn't stop seeing texture! It has really helped me grow as an artist.
Supplies:
Pencil- if you have a favorite one that you can shade with, use it!
Blank white paper
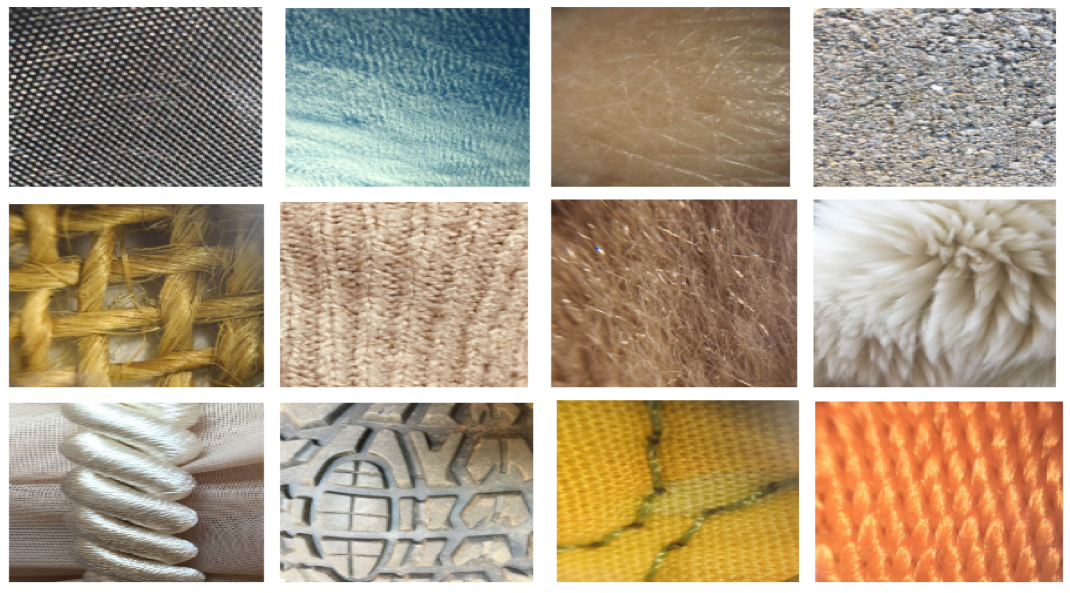
Objects or pictures with examples of texture
Eraser
Colored pencil (optional)
1. Collect pictures or real objects with the following texture:
Soft
Rough
Bumpy
Smooth
Slimy
Fuzzy
any others?...
2. Draw a large continuous line across your paper that overlaps itself to create at least six large sections that are oval or blob shaped.
3. Use each section to draw a different texture inside. Observe and/or touch the objects or pictures you collected to better understand how you will draw it.
You may see patterns of lines that create your textures such as hatching and cross hatching, zig zags, thin and thick lines that go in a certain direction, or hundreds of tiny dots grouped together. These repeating lines and marks give an object a certain look or feel.
4. Keep drawing until all of your sections are full with texture. If you ended up drawing more than six ovals, you may repeat your favorite textures.
5. When you finish drawing, take a step back. Do your drawings of texture look like you could reach out and feel them? What can you do to make them stand out more? I noticed that the more I drew each object, the closer I began to look. I got into a rhythm of making a pattern with repeating lines and shapes. I imagined looking at things through a magnifying glass and zoomed in to really capture the surface qualities.
If you know a little about shading with pencil or colored pencil, try it out on this project. The more you are able to build up each drawing, the more convincing it will be.
Week of May 25th
Make a drawing of a 3D art gallery or museum. I know you can do it, email me with any questions!
Week of May 18th
Make a collage about a current event. Lesson on weekly specials slide- check with classroom teacher on how to find it.
Week of May 11th:
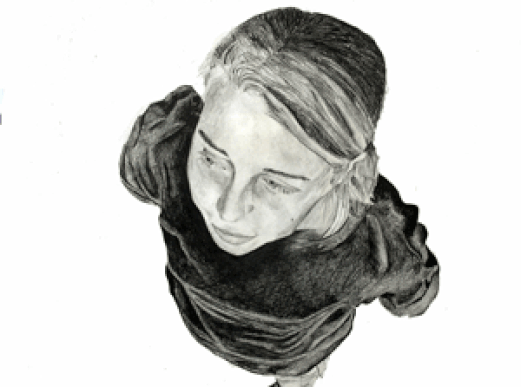
Create a drawing using foreshortening.
Foreshortening- gives the impression of three-dimensional volume and creates drama in a picture. Shows a distortion of size when something is closer to you in a work of art.
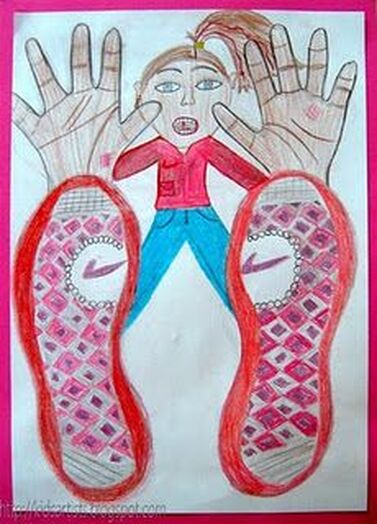
Make the following drawing of a portrait of someone who looks like they're falling toward you!
Supplies:
Pencil
Paper, the larger the better. I used 12x18".
Crayons, colored pencils or markers (optional)
Your feet and hands (shoes optional!)
Steps: This can be a self portrait or a picture of anyone, you choose!
1. Holding your paper vertical (tall), trace your feet and hands. Start with your feet at the bottom since they will be bigger and then draw the hands right above them.
2. Draw arms, legs, body and head to create the illusion that the body is farther away than the feet and hands. It should look kind of strange and distorted- the body and head will be smaller than the feet and hands in this drawing.
3. Details, details, details!!! This is my favorite part. Draw your face and hair. What expression are you trying to show- fear, excitement...
Draw some lines on the palms of your hands. Hint- look at your palms, what are all those lines, ah!! Look at the soles of your shoes or bottoms of your feet. Are there some cool designs you can add?
4. Background- what is happening behind your person? A wormhole, thunderstorm of spaghetti and meatballs... what are they falling out of/from??
5. Color with crayons, markers or colored pencils. Don't forget the color the background!
Email Mrs. A. pics! I want to see them!!!
[email protected]
*The finished drawings all end up looking like the subject is falling toward the viewer. In this way, students learn to express distance and dimension of drawing on a piece of paper.
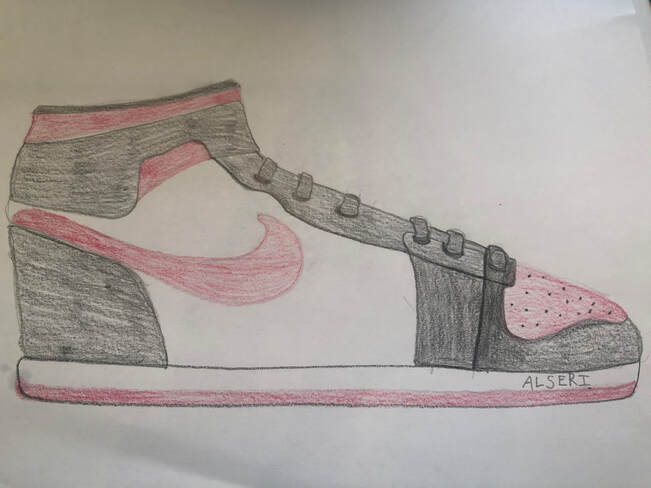
Make a work of art with your shoe
Helpful videos:
https://youtu.be/KoGAXg6m4Gc
https://youtu.be/FKHVqbM_xLU
Steps:
1. Find a cool shoe that would be fun to draw. It doesn't have to fit you!
2. Look closely at it. What shapes and textures do you see?
3. Begin by drawing a long line at the bottom of your paper for the sole. How thick is the sole? If you didn't get the size right the first time, keep trying. The rest of the show will look better if you have a strong foundation!
4. Draw the heel- how far up from the sole does it reach? If it's a boot or a high top, the heel will reach up higher than the toe.
5. Now draw the toe on the opposite end, also coming up from the sole. Double check if it is shorter than the heel on the actual show and draw what you see.
6. Make it all come together by drawing the line that connects the heel to the toe. This line will be diagonal because the shape of a foot is like a wedge.
7. Now for the fun part- details! Laces, logos, stitching, panels; these details make the shoe unique.
8. Color! Choose to either use the colors you see on the actual shoe or make up a new shoe with funky colors. Maybe you'd like to draw part of a leg coming out or a fun patterned background behind?
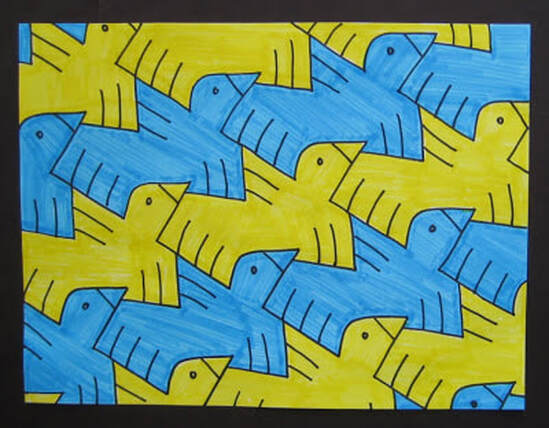
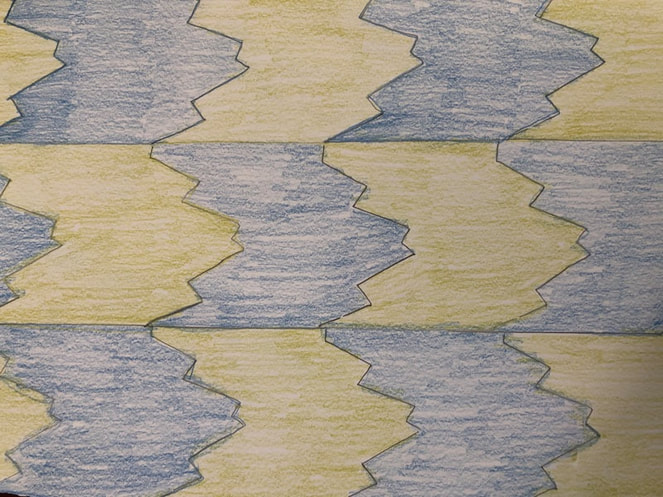
Draw a tessellation
Animation Flipbook
Make a simple flip book animation using just a stack of post it notes and a pencil.
*If you don't have sticky notes or would rather not use them up, you can use a thick stack of small paper clipped together. You just have to be able to quickly flip from the back to the front, like you're reading a book backwards.
Here are the steps!
1. On one of the last pages of the post it note stack, draw a REALLY simple object, stick figure or animal. Something active works best so you can capture the motion of it when flipping the pages.
2. Decide what your object is going to do in your flipbook. Jump, walk across the page, make a basket with a ball?
3. On the page before it, draw the exact same object/animal but make a small change. With my puppy, I made him start leaping into the air. Keep drawing one step at a time on each page until your action is complete.
4. Try it out! Flip through your pages starting at the back of the stack using your thumb. It will take some practice.
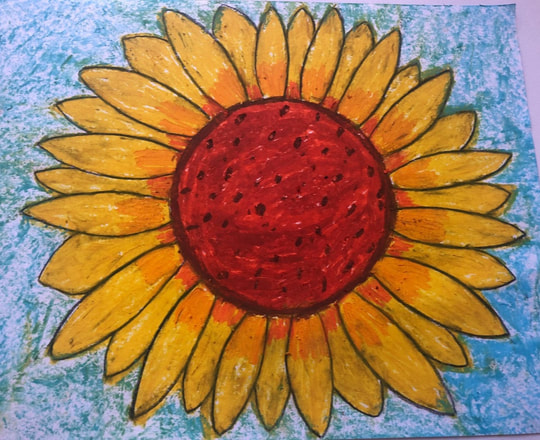
Flower in Bloom
Supplies:
Pencil
Oil pastels in assorted colors (crayons would be okay if pastels are not available)
A square piece of white paper
A circular container, lid or tracer for flower center
1. Place circular object on the center of the paper and trace with a pencil.
2. Draw petals around the center of the flower. Draw them nice and big so you have room to color them in. Think pointy like sun rays or curvy like skinny ovals, depending on what kind of flower you'd like. You may draw a small stem from the flower to the edge of the paper if you choose.
3. Chose a color pastel for the petals, green for the stem and red or brown for the center.
4. Color in the center completely, using heavy pressure.
5. Next, color in each petal individually, also applying heavy pressure to get a brighter color. Try to follow the shape of each petal when coloring in.
6. Outline the petals and center of the flower with a black pastel. You may also add details such as dots in the center.
7 Color in the background with a bright color of your choice.
